Where should I start?
The clinic administrator in Medsenger prepares consultations for work: adds doctors, creates patient consultations, monitors response deadlines, processes online requests, and helps users when something does not open.
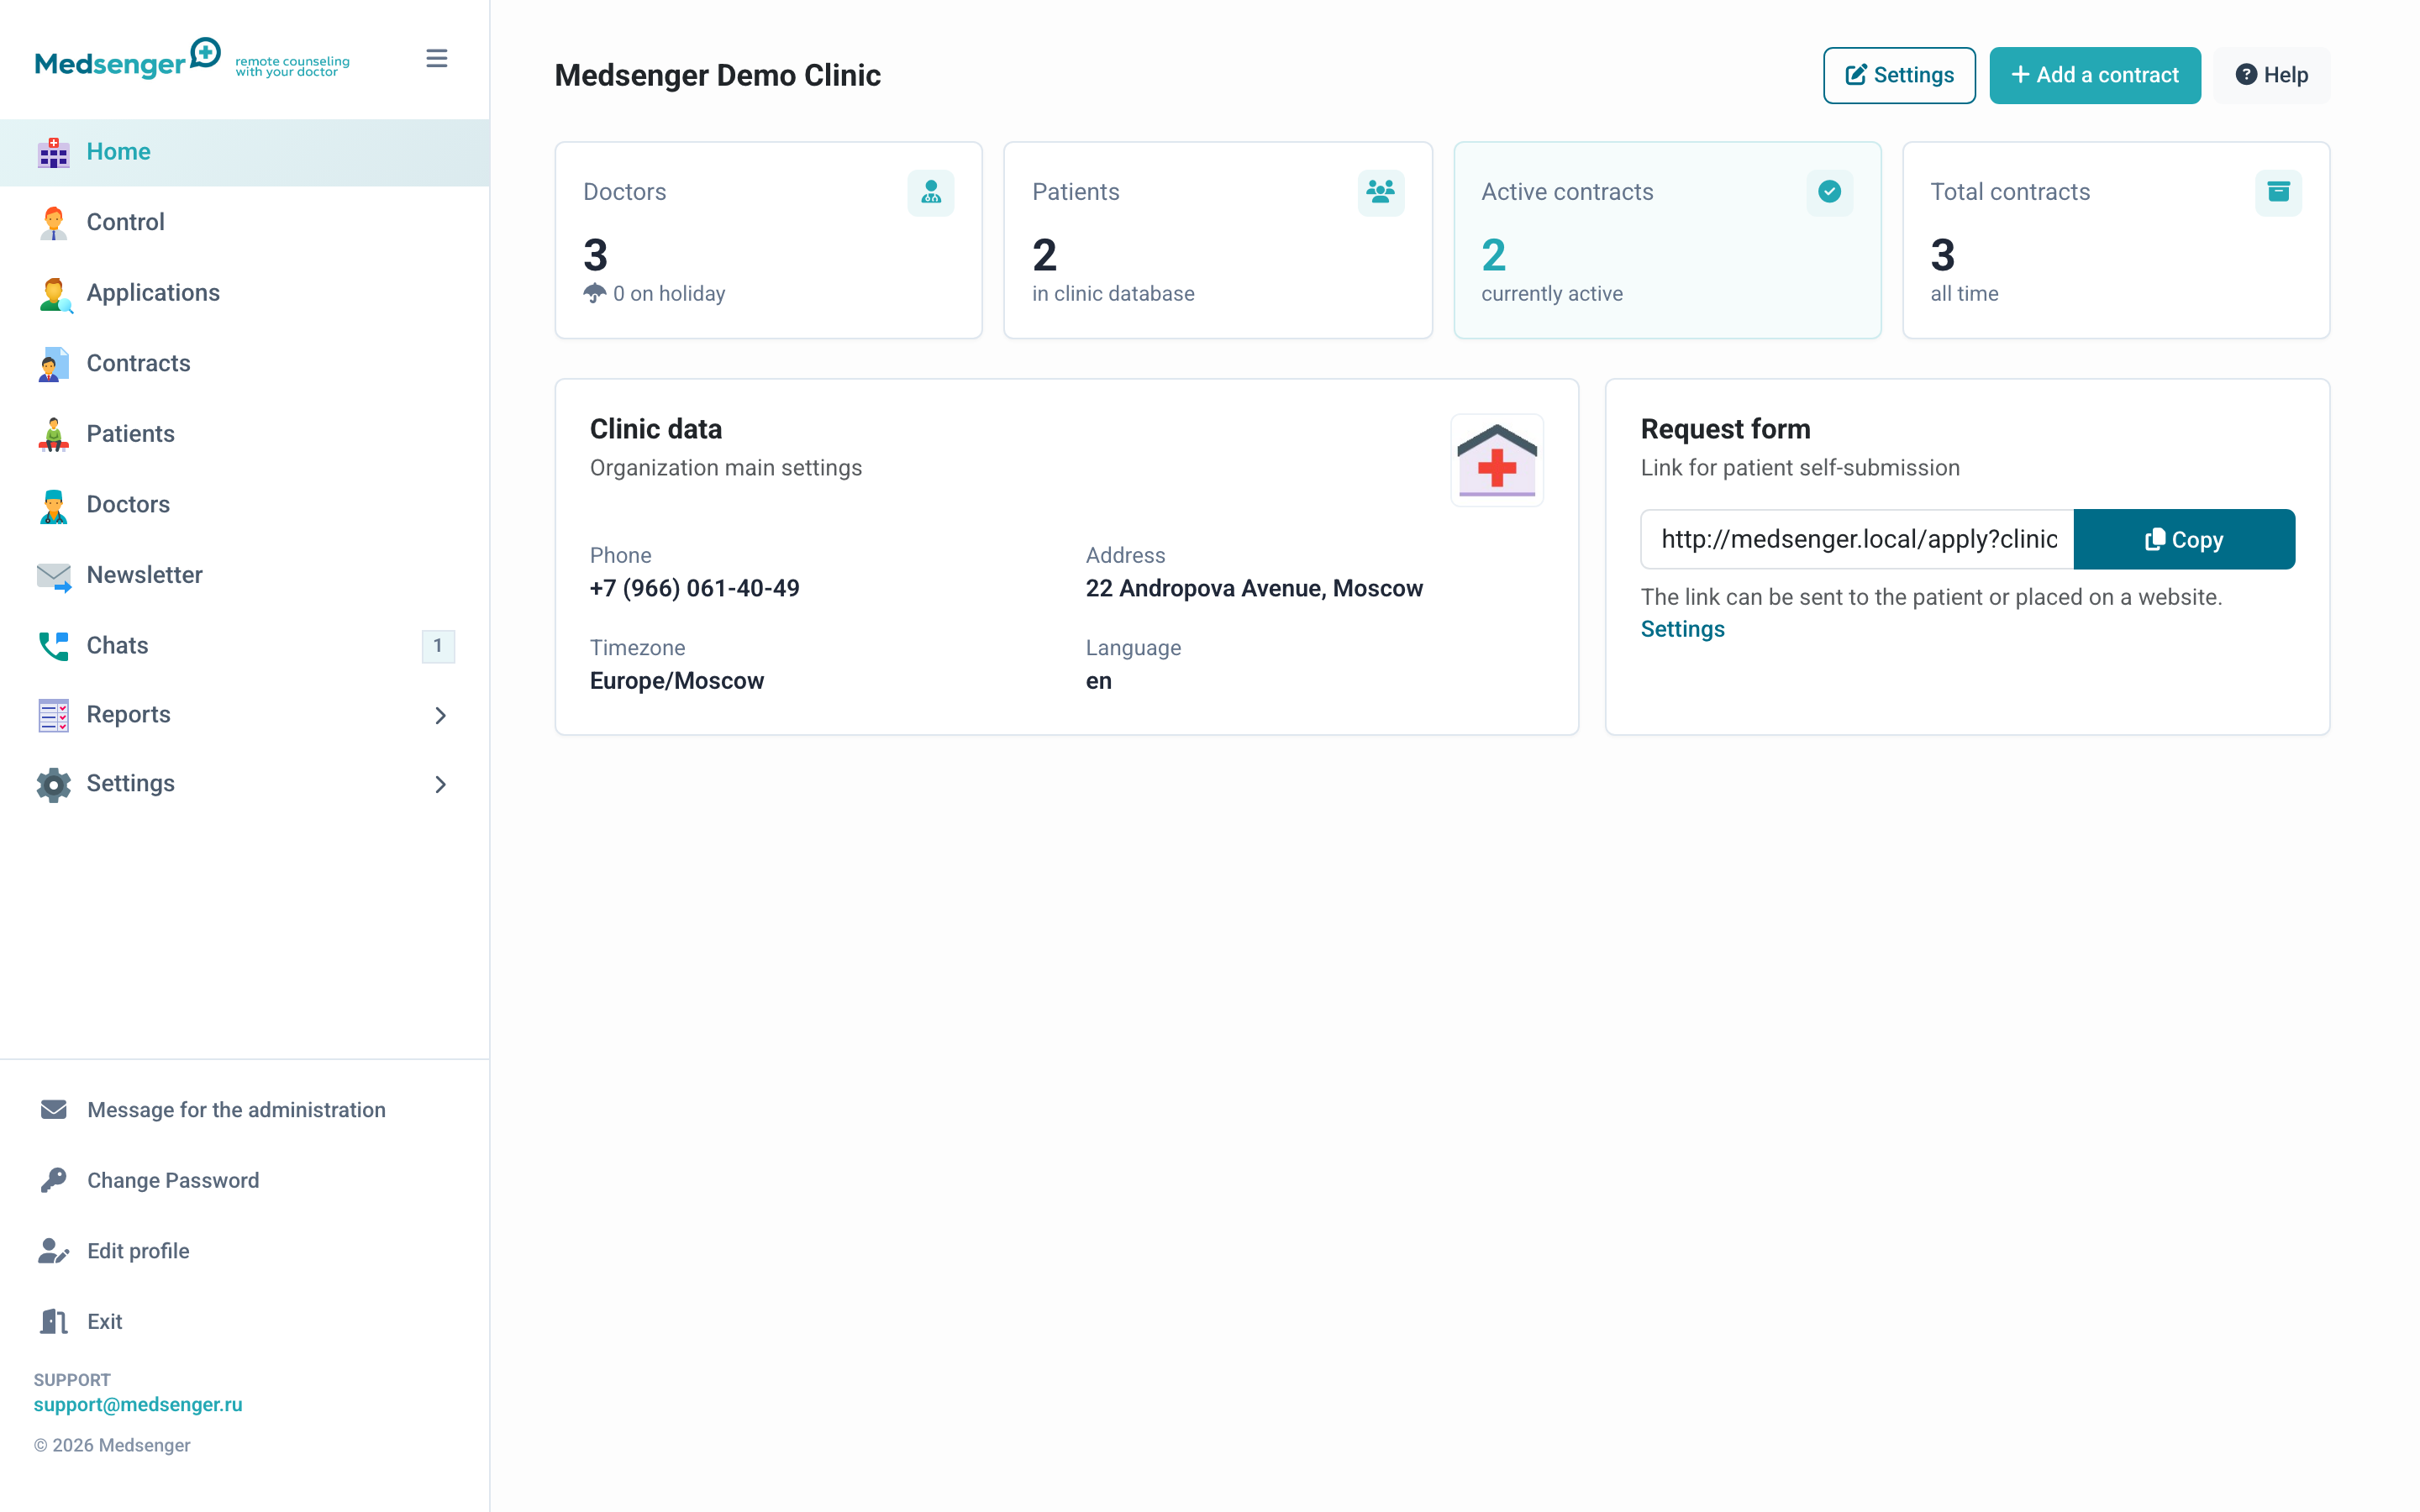
Check clinic details
The home page shows clinic name, phone, address, time zone, and the number of doctors, patients, and active consultations.
First check:
- clinic name and logo;
- phone number shown to patients;
- time zone used for response deadline calculation;
- notification language;
- contact person for Medsenger support.
If the data is incorrect, open Edit details or general settings.
Prepare doctors
Add doctors who will answer patients and make sure they activate their accounts. Do not create a large flow of consultations for a doctor who has not logged in to Medsenger yet.
If the doctor accepts online requests, fill in description, specialty, price, and booking settings on the doctor page.
Configure work rules
Before the first patient, check:
- doctor response rule;
- contract types, if the clinic uses filters and reports by program;
- services, if consultations are created from standard packages;
- online requests, if patients book through the form;
- monitoring, if patients receive questionnaires, medications, charts, or video calls.
Create a training consultation
Before the first real patient, create a training consultation with test data:
- Add a patient and doctor.
- Check that the patient received an invitation.
- Make sure the doctor sees the patient.
- Send a test message from the patient and a doctor reply.
- Check response deadline, notifications, and needed monitoring buttons.
If everything works, you can create real consultations.
Clinic launch checklist
Before launch, check:
- clinic data, logo, phone, and time zone;
- doctors, their emails, photos, specialties, and account activation;
- doctor response rules;
- consultation types if needed for filters and reports;
- services if consultations are created from standard packages;
- doctor, patient, and administrator notifications;
- training consultation with a test message.
Online request checklist
Before publishing a booking link, check:
- who is visible to the patient: doctors, services, or both;
- whether public descriptions and prices are filled in;
- which documents the patient must upload;
- whether the request requires manual confirmation or opens automatically;
- what happens after payment;
- whether the administrator receives a new request notification;
- whether the patient receives a clear instruction after submitting the form.
Detailed checking is described in patient flow in a request.
Monitoring checklist
Before assigning monitoring to a real patient, check:
- the correct scenario is selected;
- the doctor has the needed actions;
- the patient received clear messages;
- questionnaires, medications, examinations, or devices work in a test consultation;
- data enters the medical record and reports if required;
- video calls and paid actions are tested separately if they are part of the program.
Detailed checking is described in scenario checklist.
Watch overdue responses
If a patient waits for an answer longer than allowed, the home page shows the Doctor attention required block.
Open such a consultation and check doctor, response deadline, and the patient's latest message. If overdue responses repeat, use supervision and response SLA.
Frequent tasks
| Task | Where to open |
|---|---|
| Create a consultation | How to create a consultation |
| Find a consultation | How to find and change a consultation |
| Find a patient | How to find a patient |
| Change doctor or extend period | Contract page |
| Process a request | Request processing and payment |
| Check overdue responses | Supervision |
If you need help
The Help button in the upper-right corner opens guidance for the current section.
The Message for administration button at the bottom of the page sends a request to Medsenger support. Include clinic, patient or consultation number, what exactly did not work, and a screenshot of the error.