Patient flow in a request
This page helps check online booking through the patient's eyes: from opening the form to created consultation, payment, or a request waiting for confirmation.
When to check the patient flow
Check the form:
- before publishing the link on the clinic website;
- after changing services, doctors, documents, or payment;
- if patients write that they do not see a doctor or service or cannot submit a request;
- after enabling automatic confirmation.
What the administrator configures and what the patient sees
| Setting in admin cabinet | What the patient sees |
|---|---|
| Doctor available for online booking | Doctor card with photo, specialty, and description |
| Service available online | Service card, period, price, and available doctors |
| Manual request confirmation | Message that the request was submitted and waits for processing |
| Automatic opening | Consultation immediately after entering data or payment |
| Document templates | Fields for uploading needed files |
| Payment | Transition to payment form and status after payment |
Step 1. The form opens
The patient receives a booking link or opens the widget on the clinic website.
Check:
- the link opens outside the clinic internal network;
- the form fits the screen on a phone;
- the correct clinic name is shown;
- the patient understands what to choose: service or doctor.
If the form does not open, check whether request intake is enabled and the current link is published.
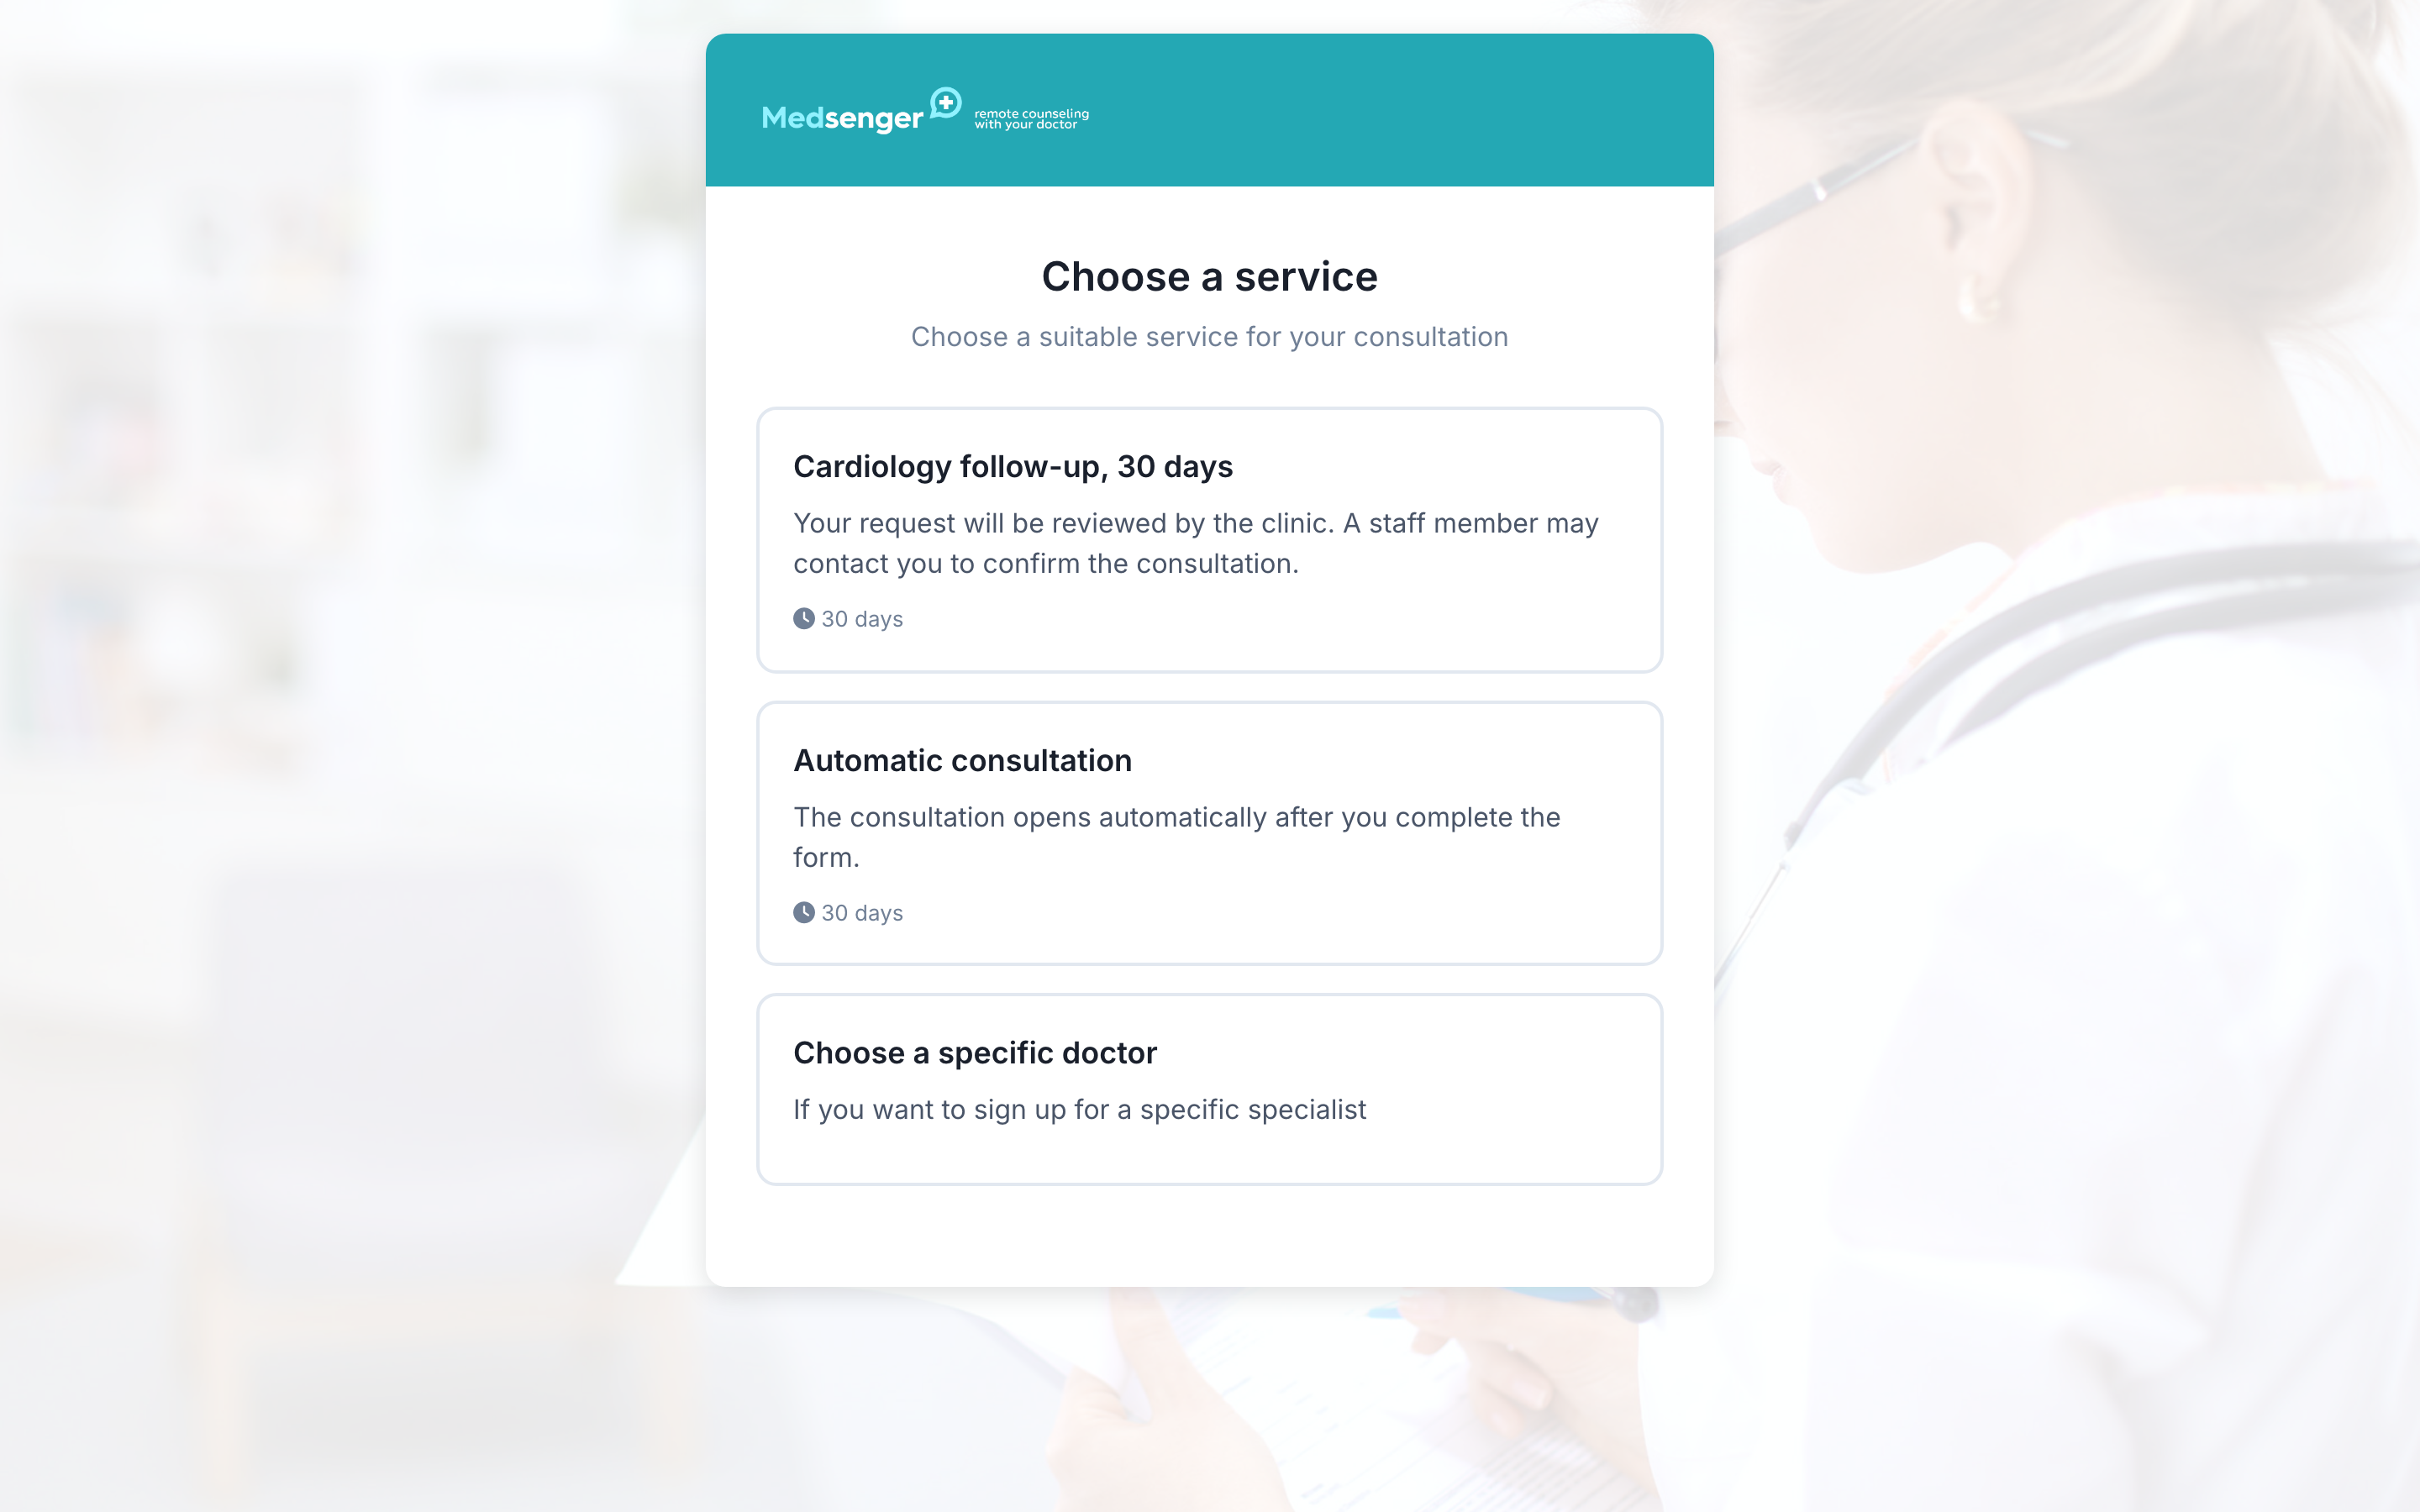
Step 2. The patient chooses service or doctor
If the patient chooses a doctor, check the doctor's online booking, status, photo, description, and price.
If the patient chooses a service, check that the service is available online, not archived, contains at least one doctor, and has consultation period, response rule, type, and monitoring scenario.
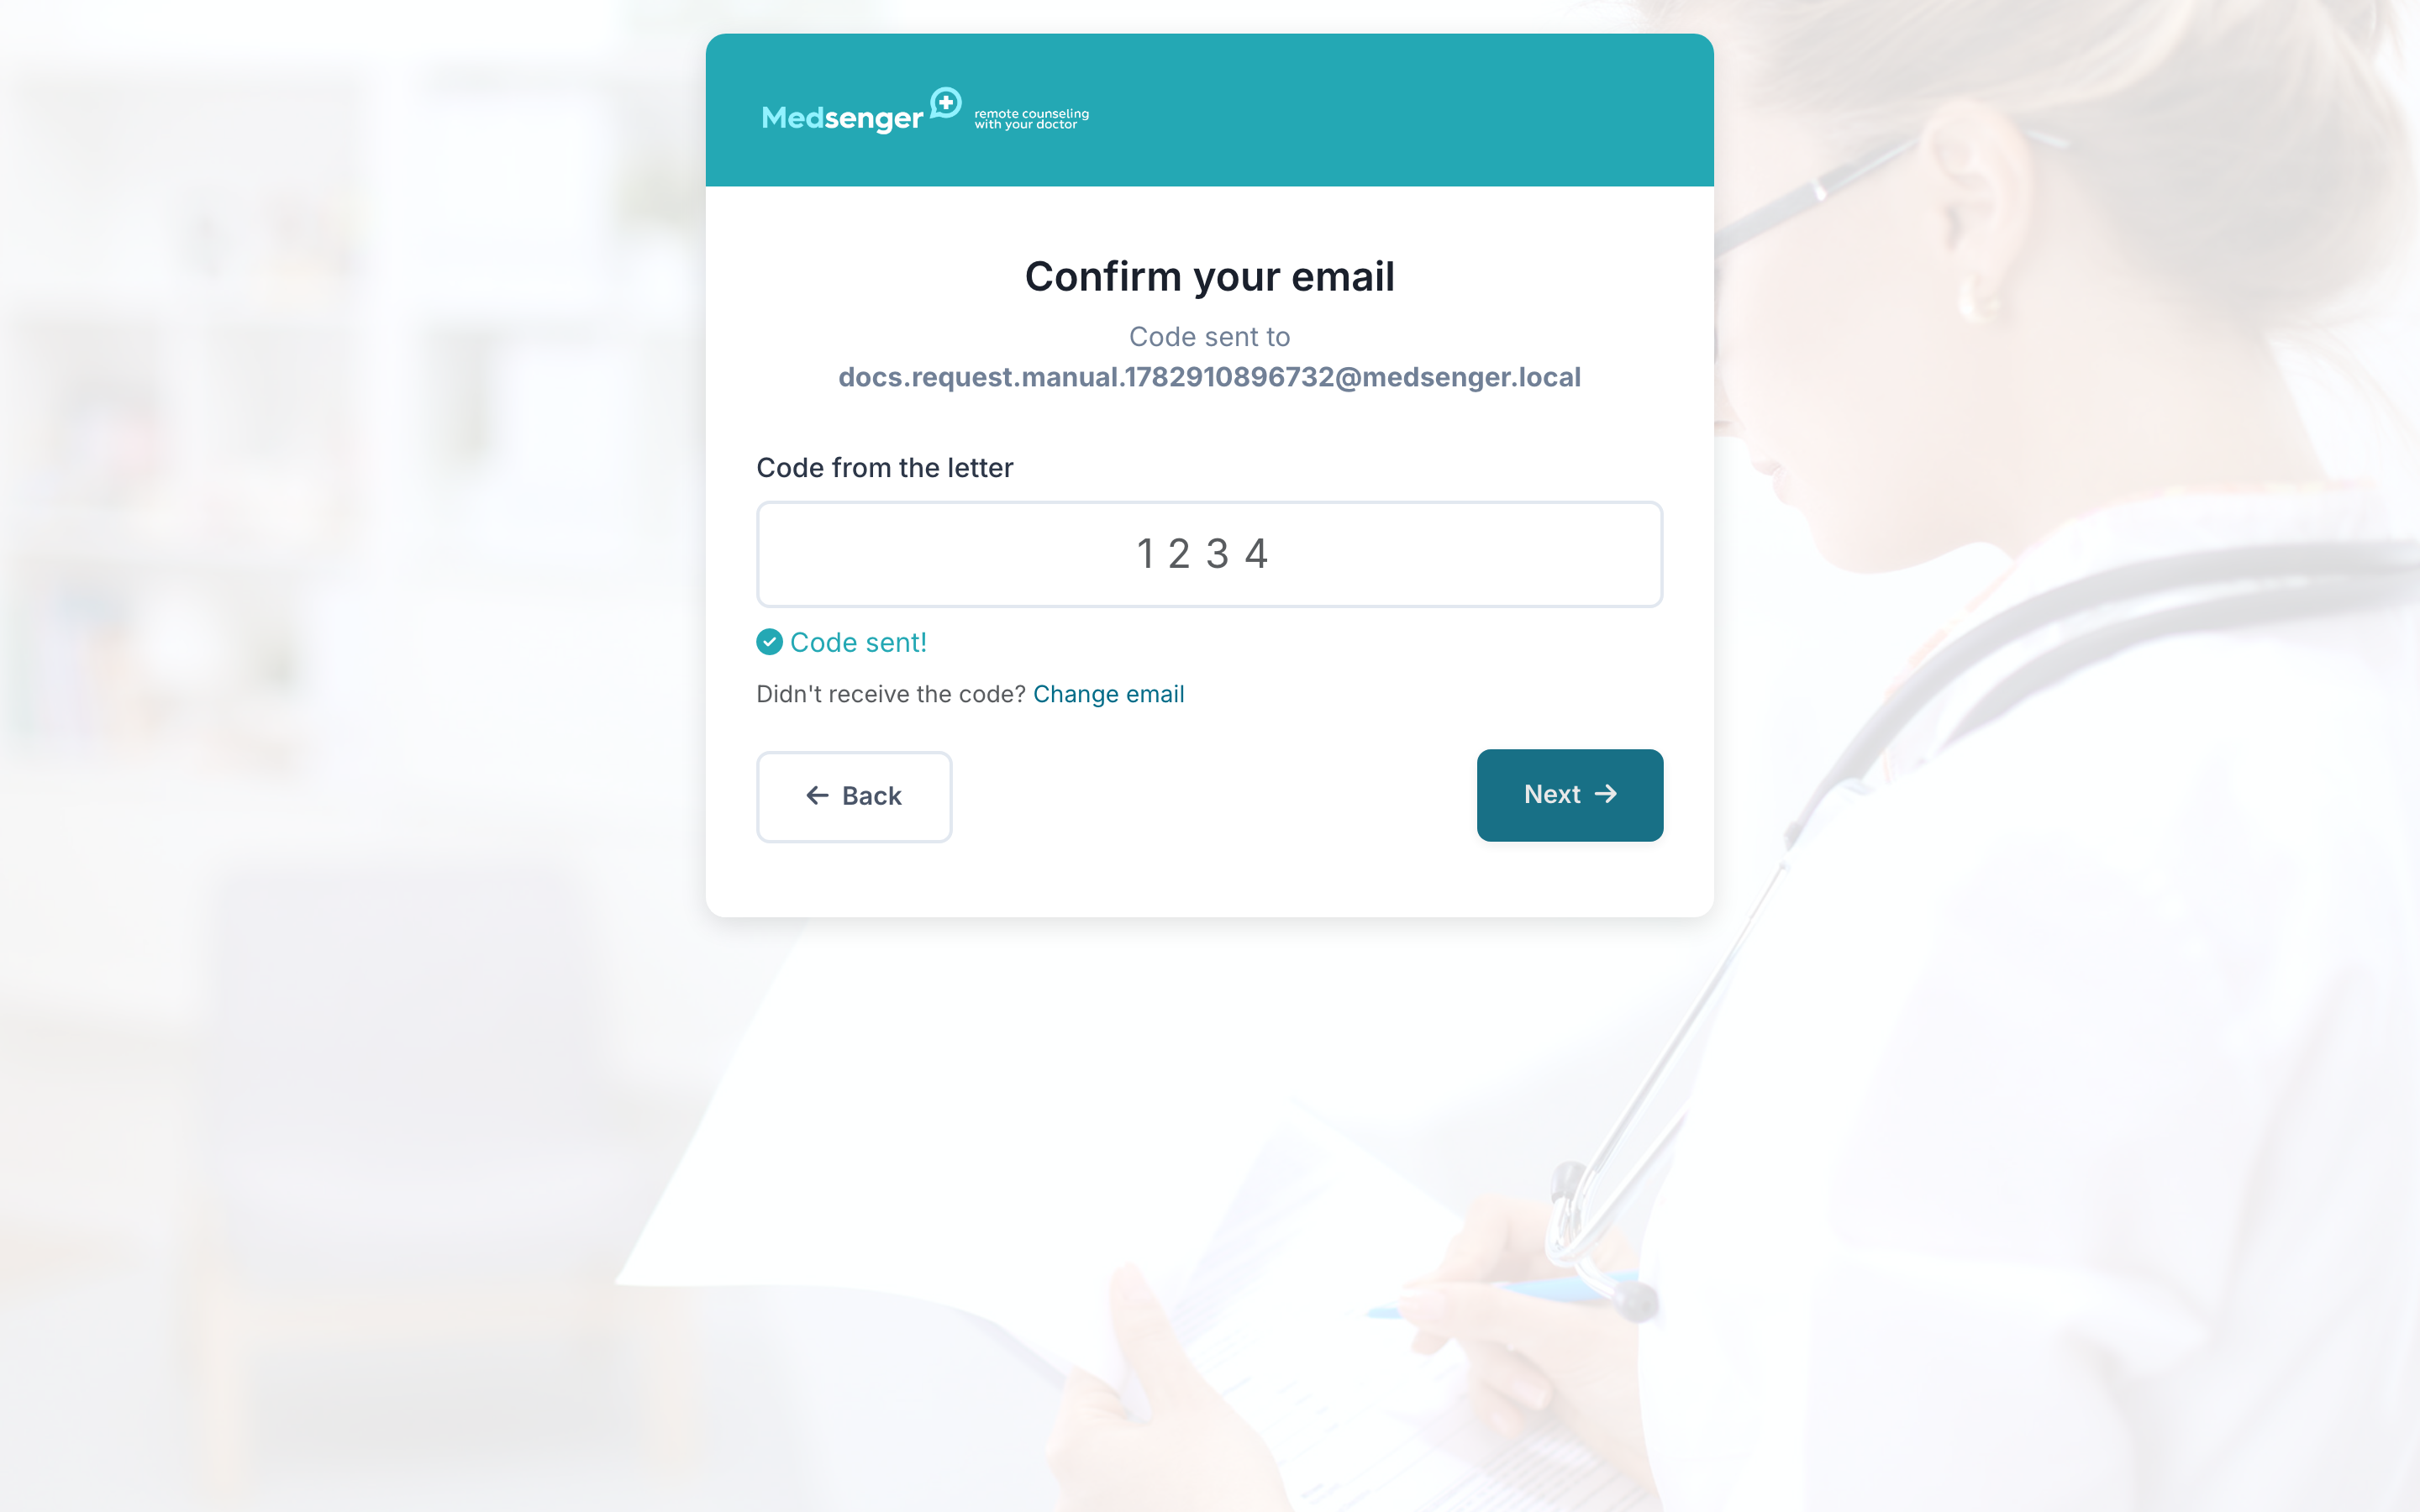
Step 3. The patient confirms email
The patient enters email and receives a confirmation code.
Check:
- the code arrives at a test email;
- the email does not go to Spam;
- the code can be entered without recreating the request;
- if the patient already exists in Medsenger, their data is filled correctly.
Step 4. The patient fills in data
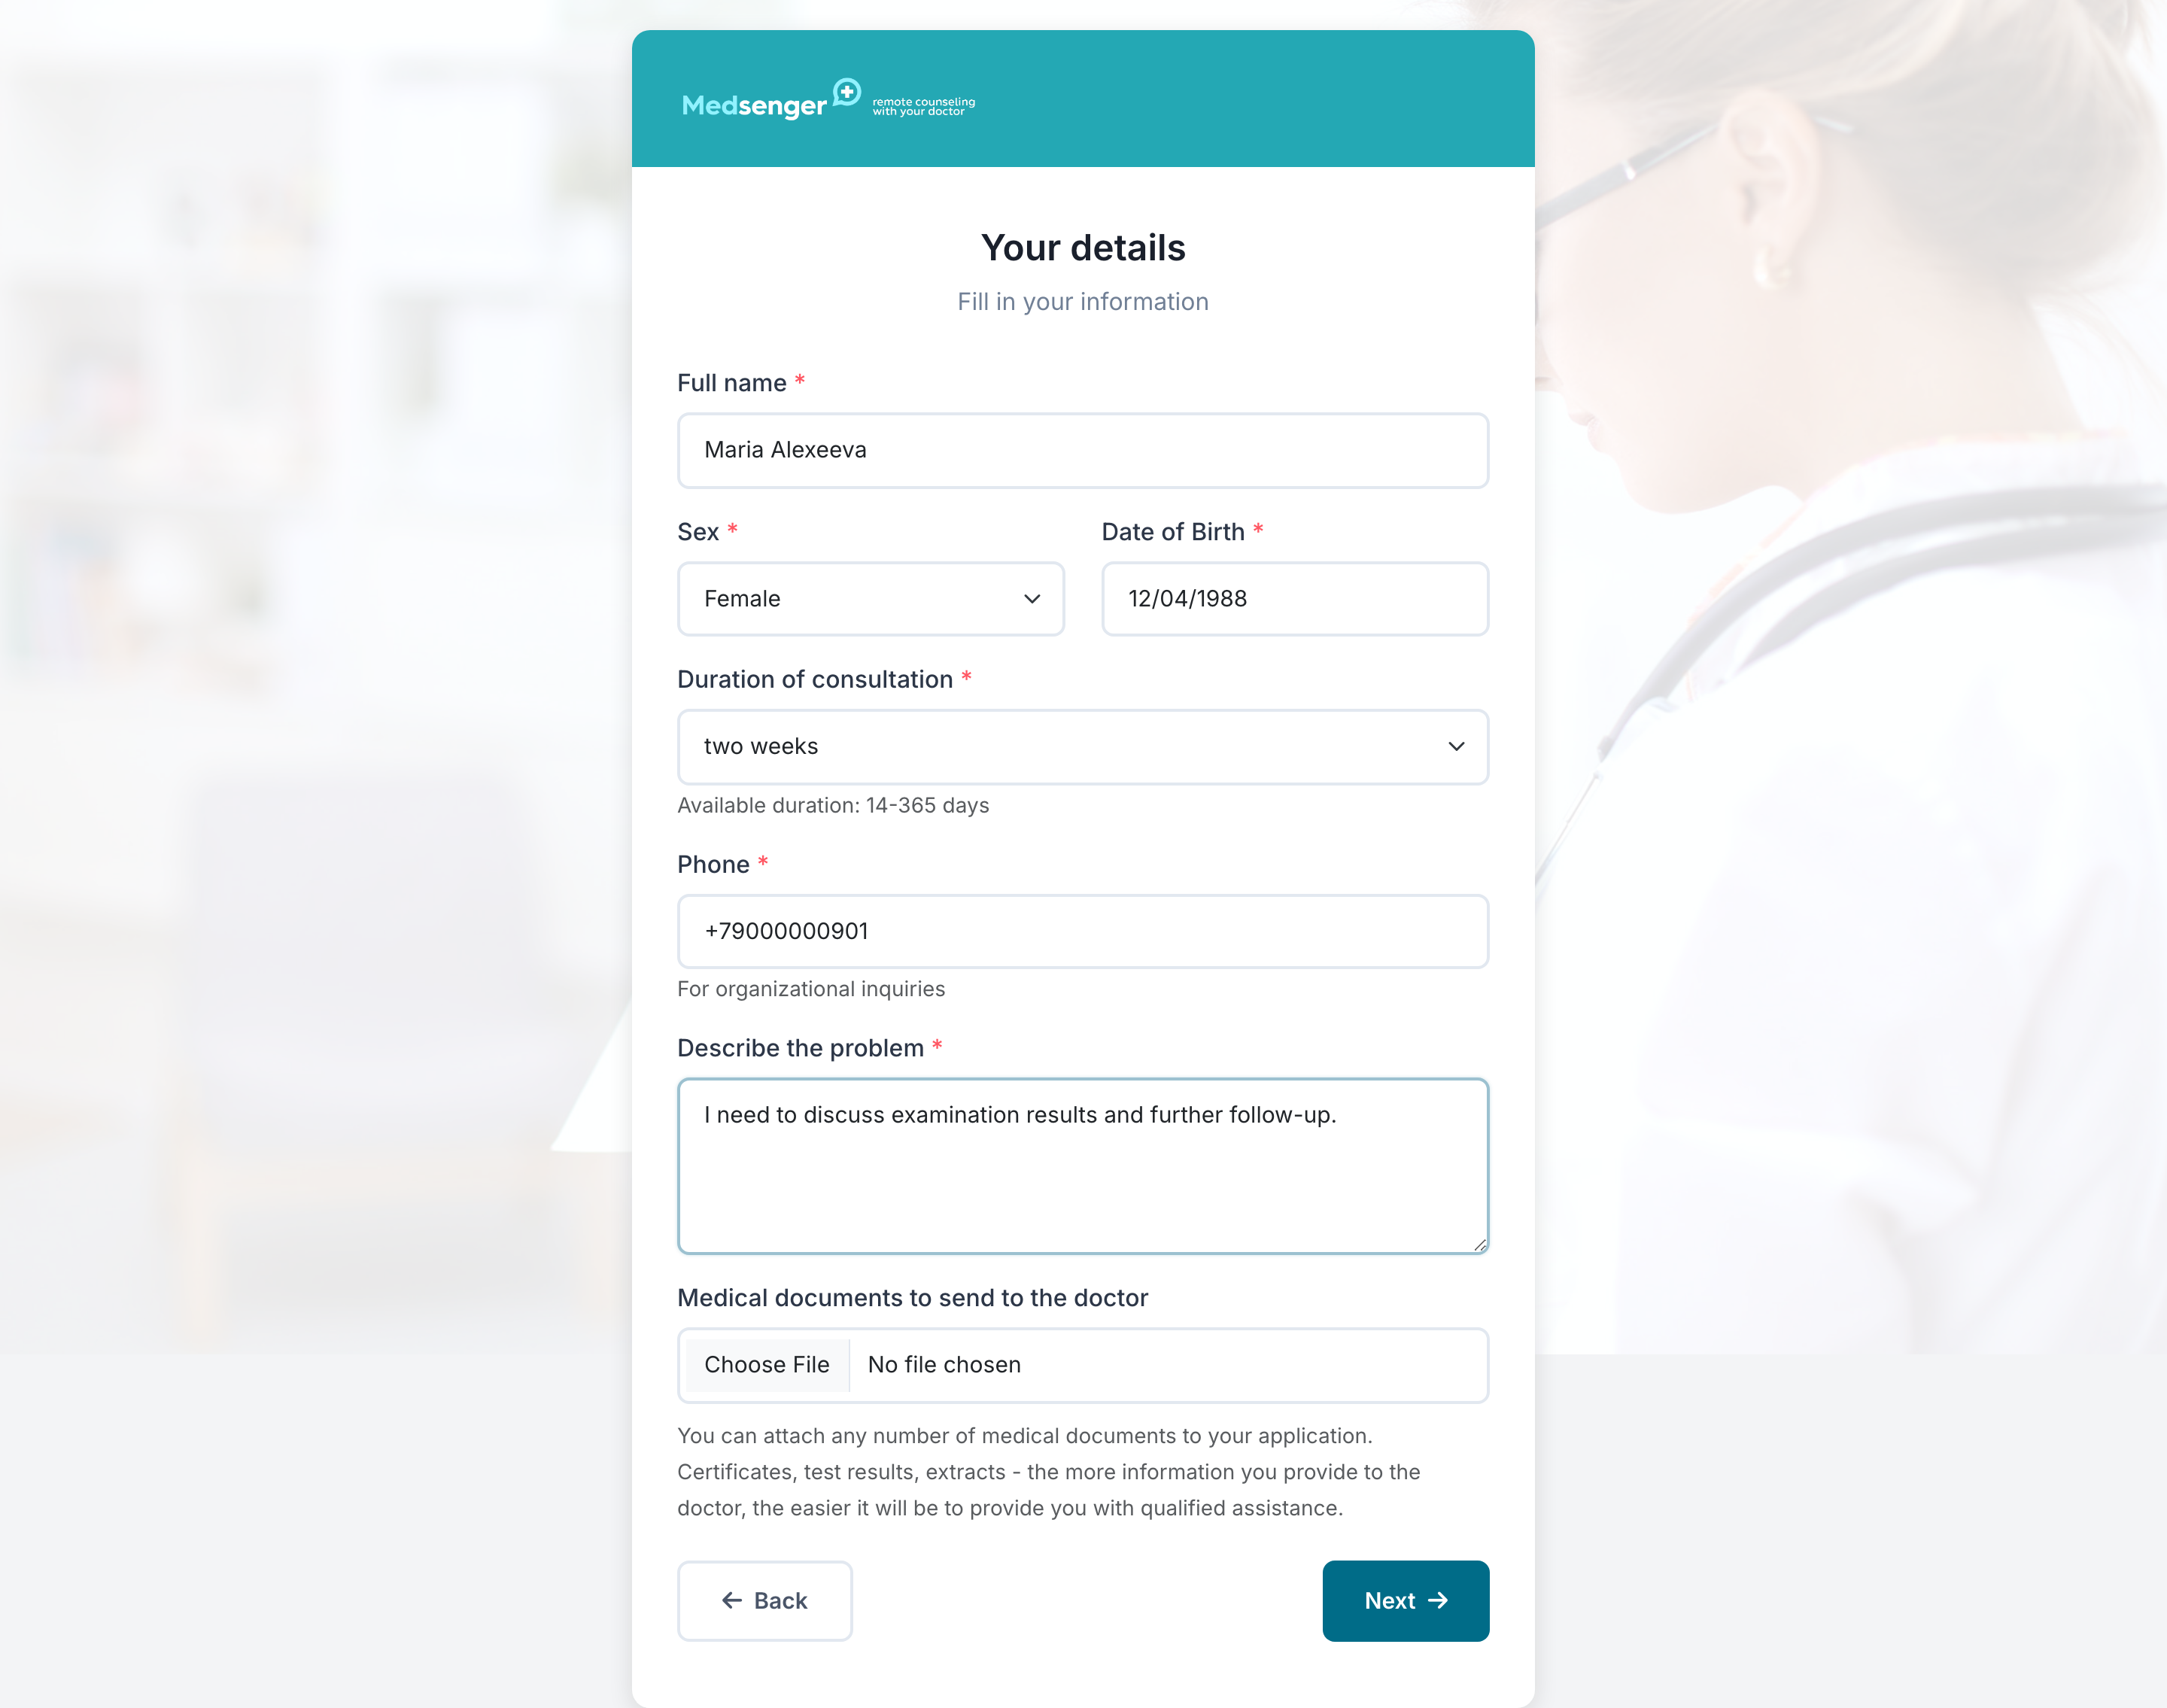
The patient enters full name, date of birth, sex, phone, and comment. Required fields depend on request settings.
With manual confirmation, phone and comment are often needed so the administrator can contact the patient before opening the consultation or payment.
With automatic opening, a new patient can set a password directly in the form to log in immediately after consultation creation.
Step 5. The patient uploads documents
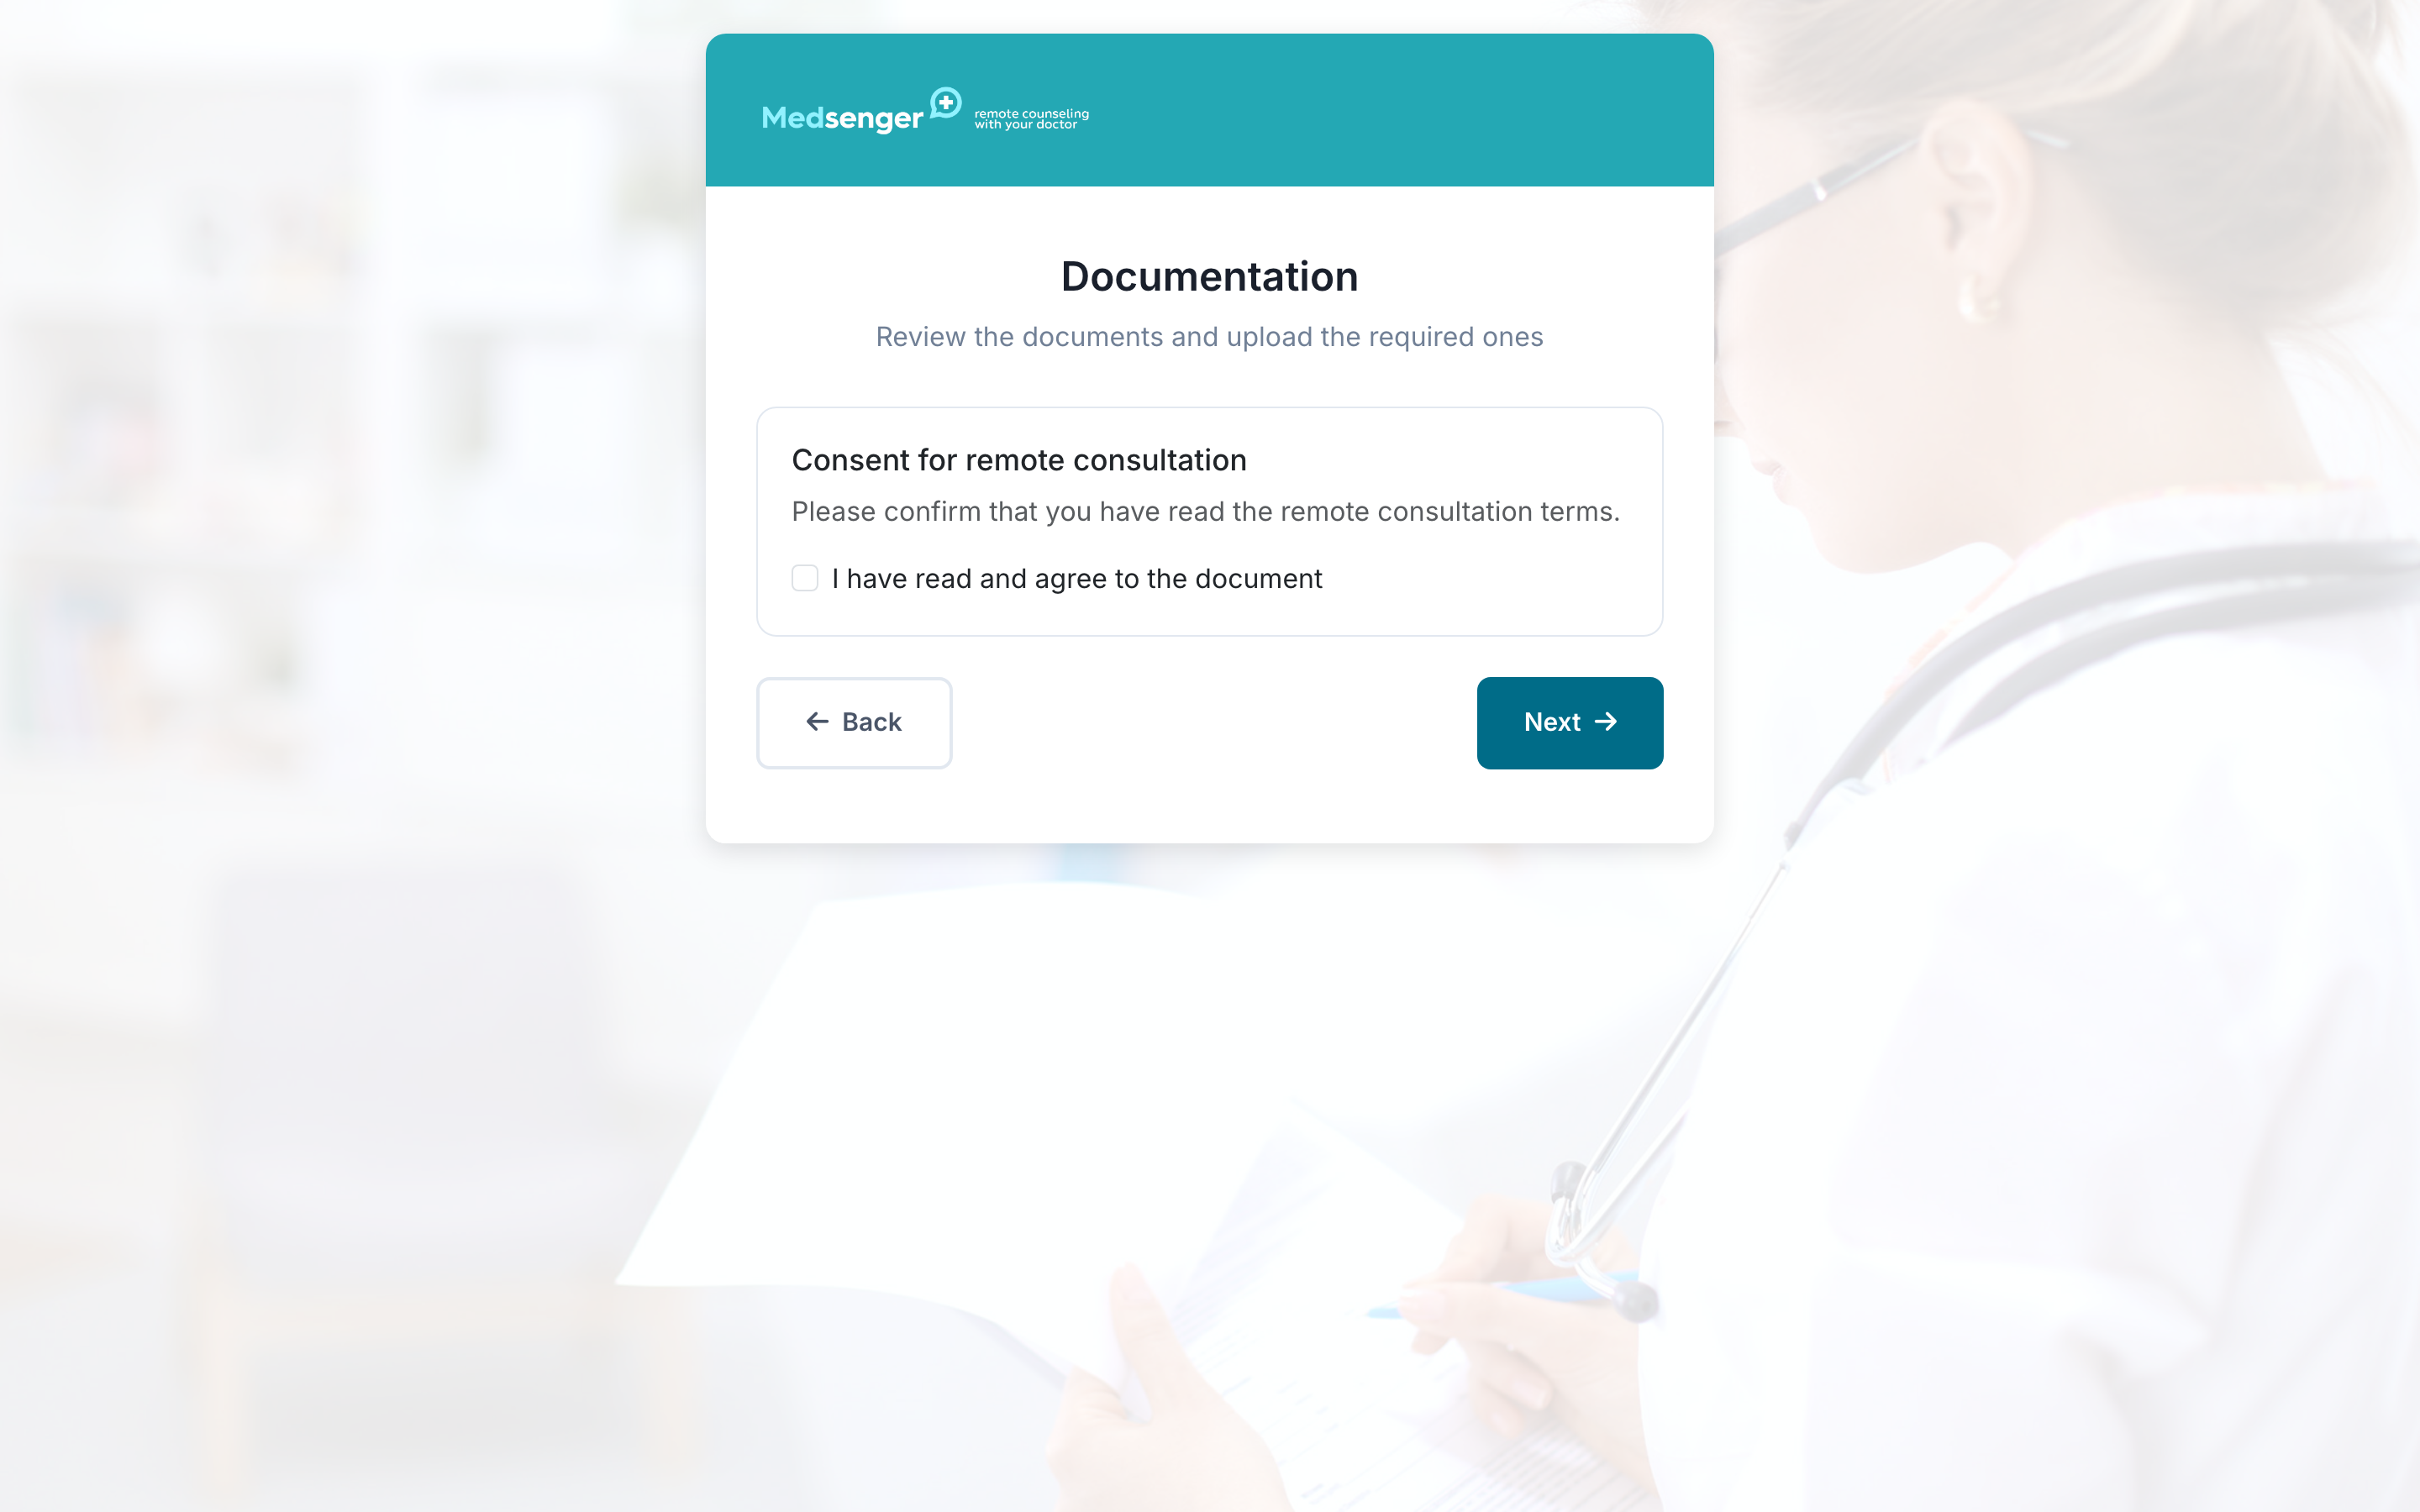
If the clinic configured document templates, the patient uploads files in the form.
Check:
- document names are clear to the patient;
- required documents cannot be skipped;
- optional documents can be skipped;
- file uploads from phone and computer;
- administrator sees documents on the request page.
Step 6. The patient submits the request
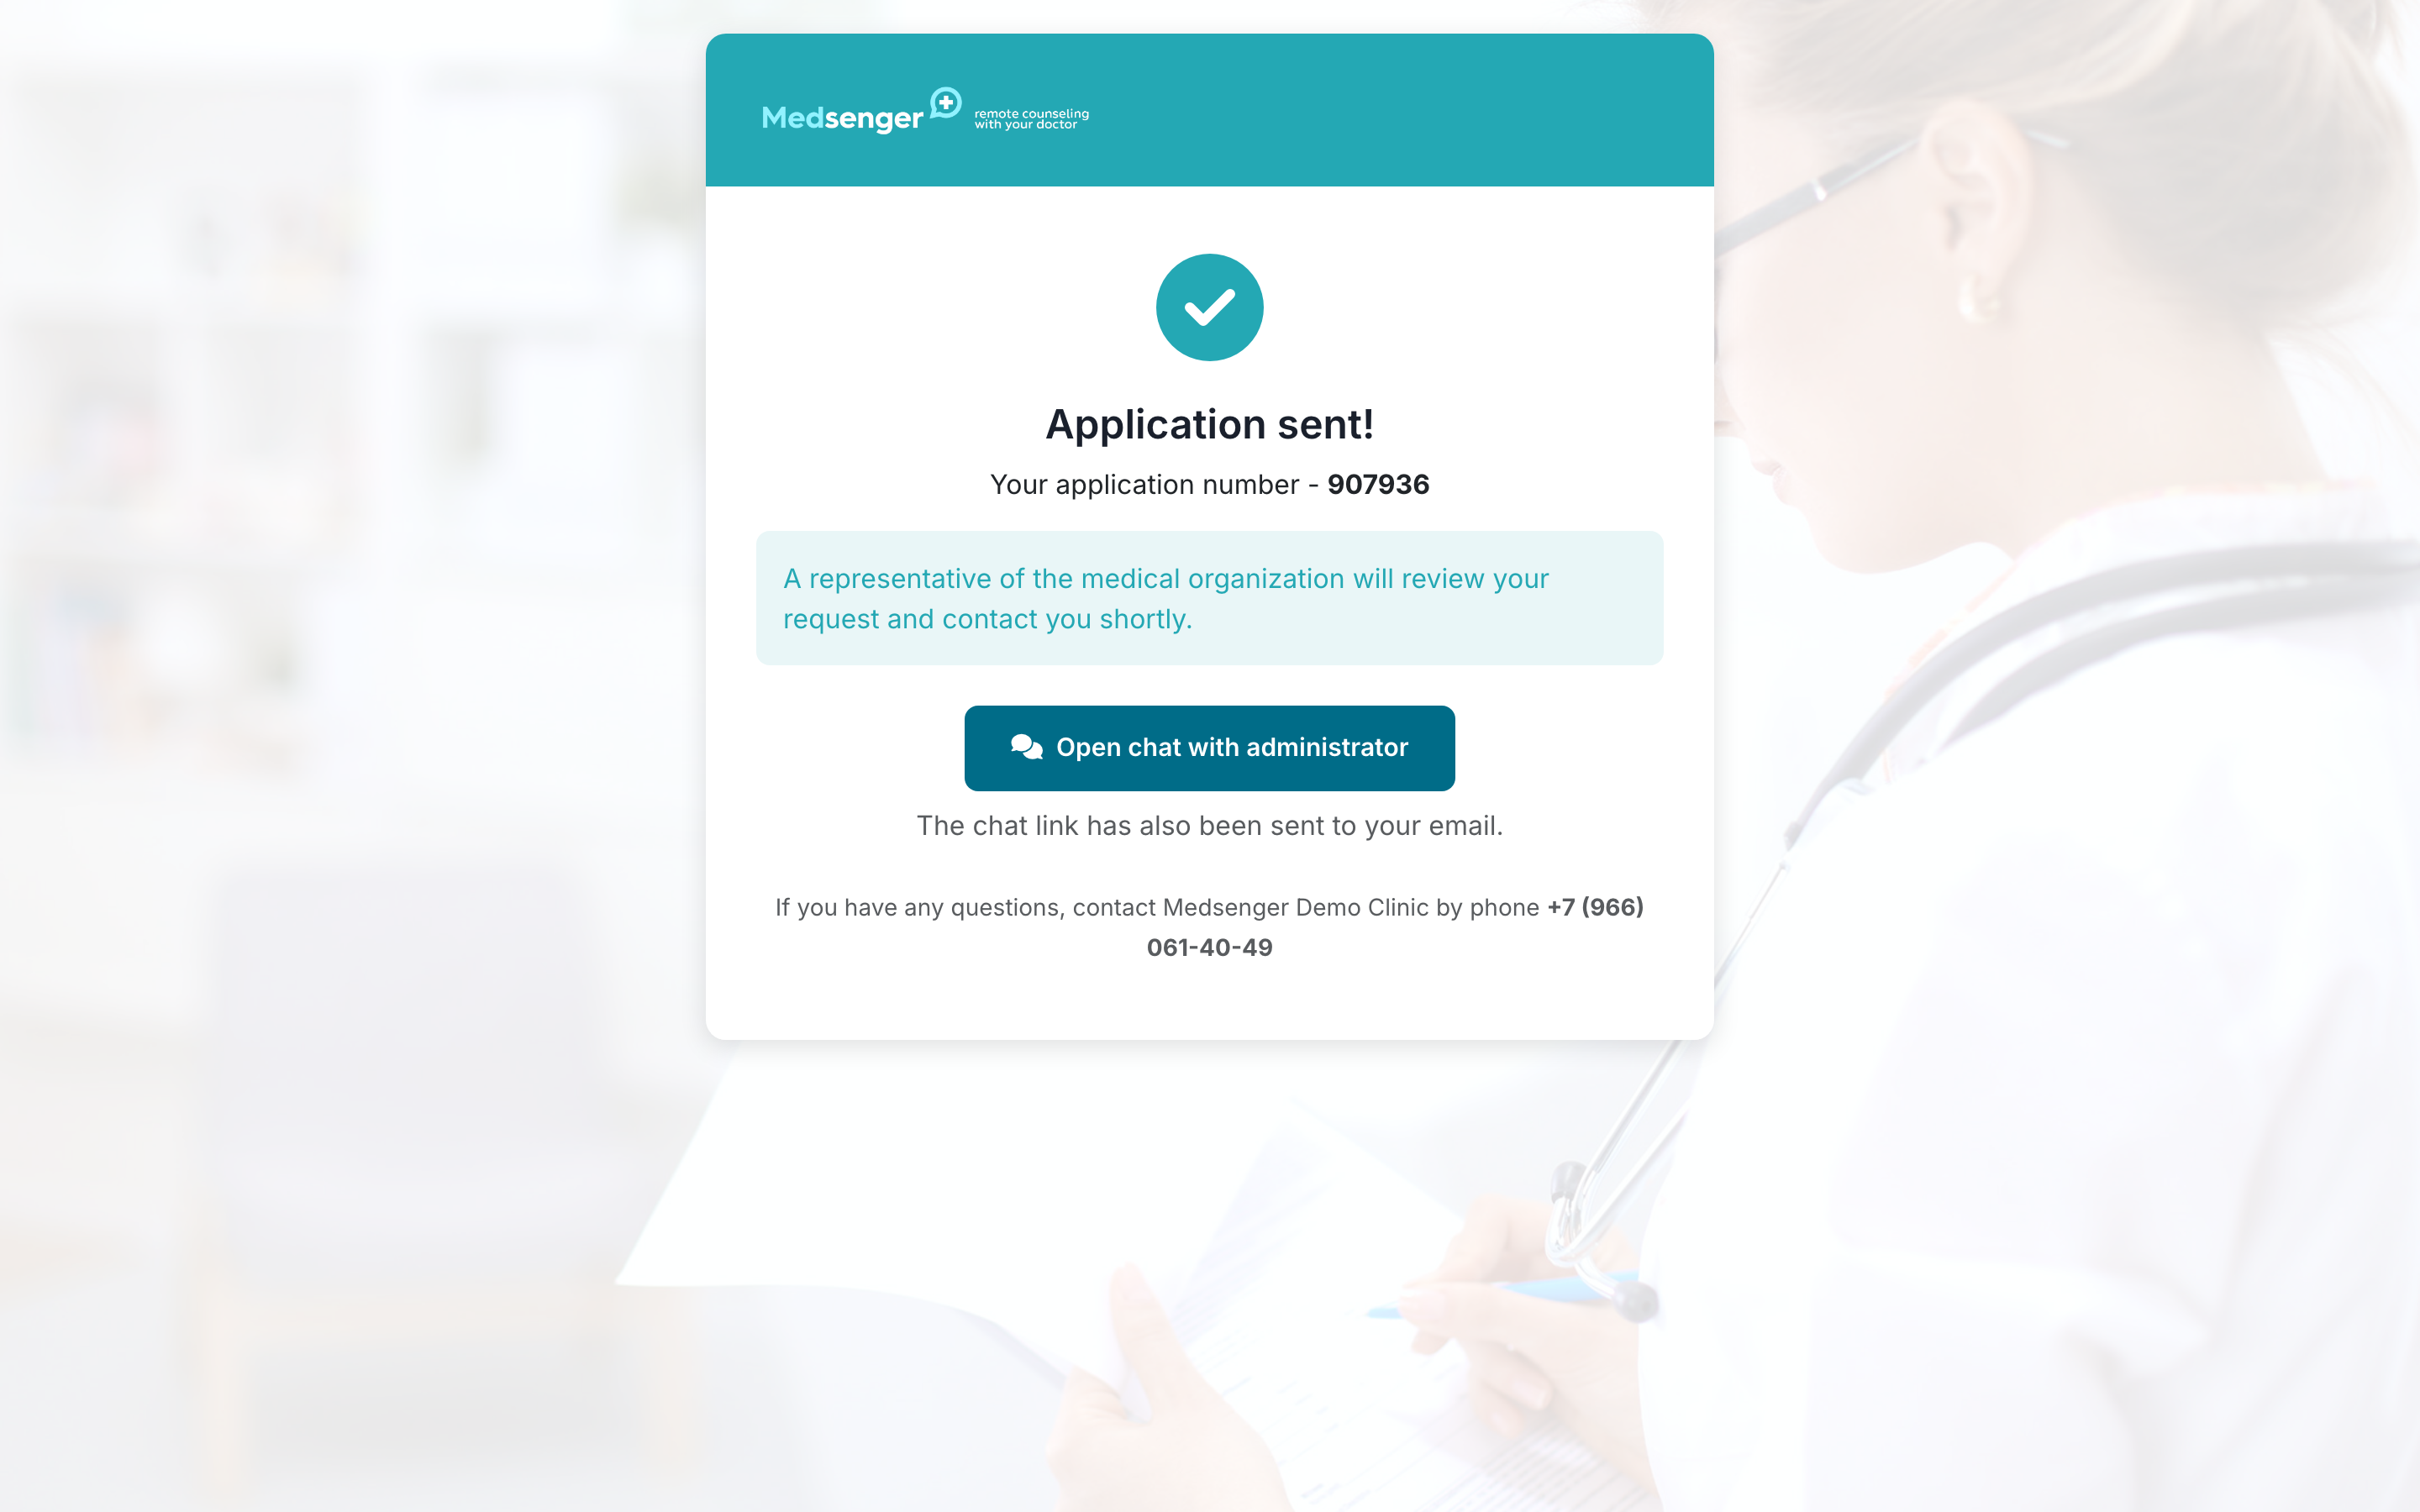
After submission, the patient should see one clear result:
- request accepted and waiting for processing;
- consultation opened automatically;
- payment is required;
- request was not created because there is already an active consultation or active request.
Check that the administrator received a notification and the patient received further instruction.
Step 7. The patient pays if required
If payment is enabled, check:
- Amount matches service or doctor.
- Payment is created in Medsenger.
- Patient returns after payment.
- Consultation is created automatically or request status changes according to clinic rules.
- Patient receives consultation access or a clear instruction.
If payment succeeded but the consultation was not created, check payment report, request status, and service confirmation settings.
Check after consultation creation
After a successful request, open the created contract and check:
- patient;
- doctor;
- consultation period;
- response rule;
- type;
- monitoring scenario;
- documents;
- patient and doctor access.
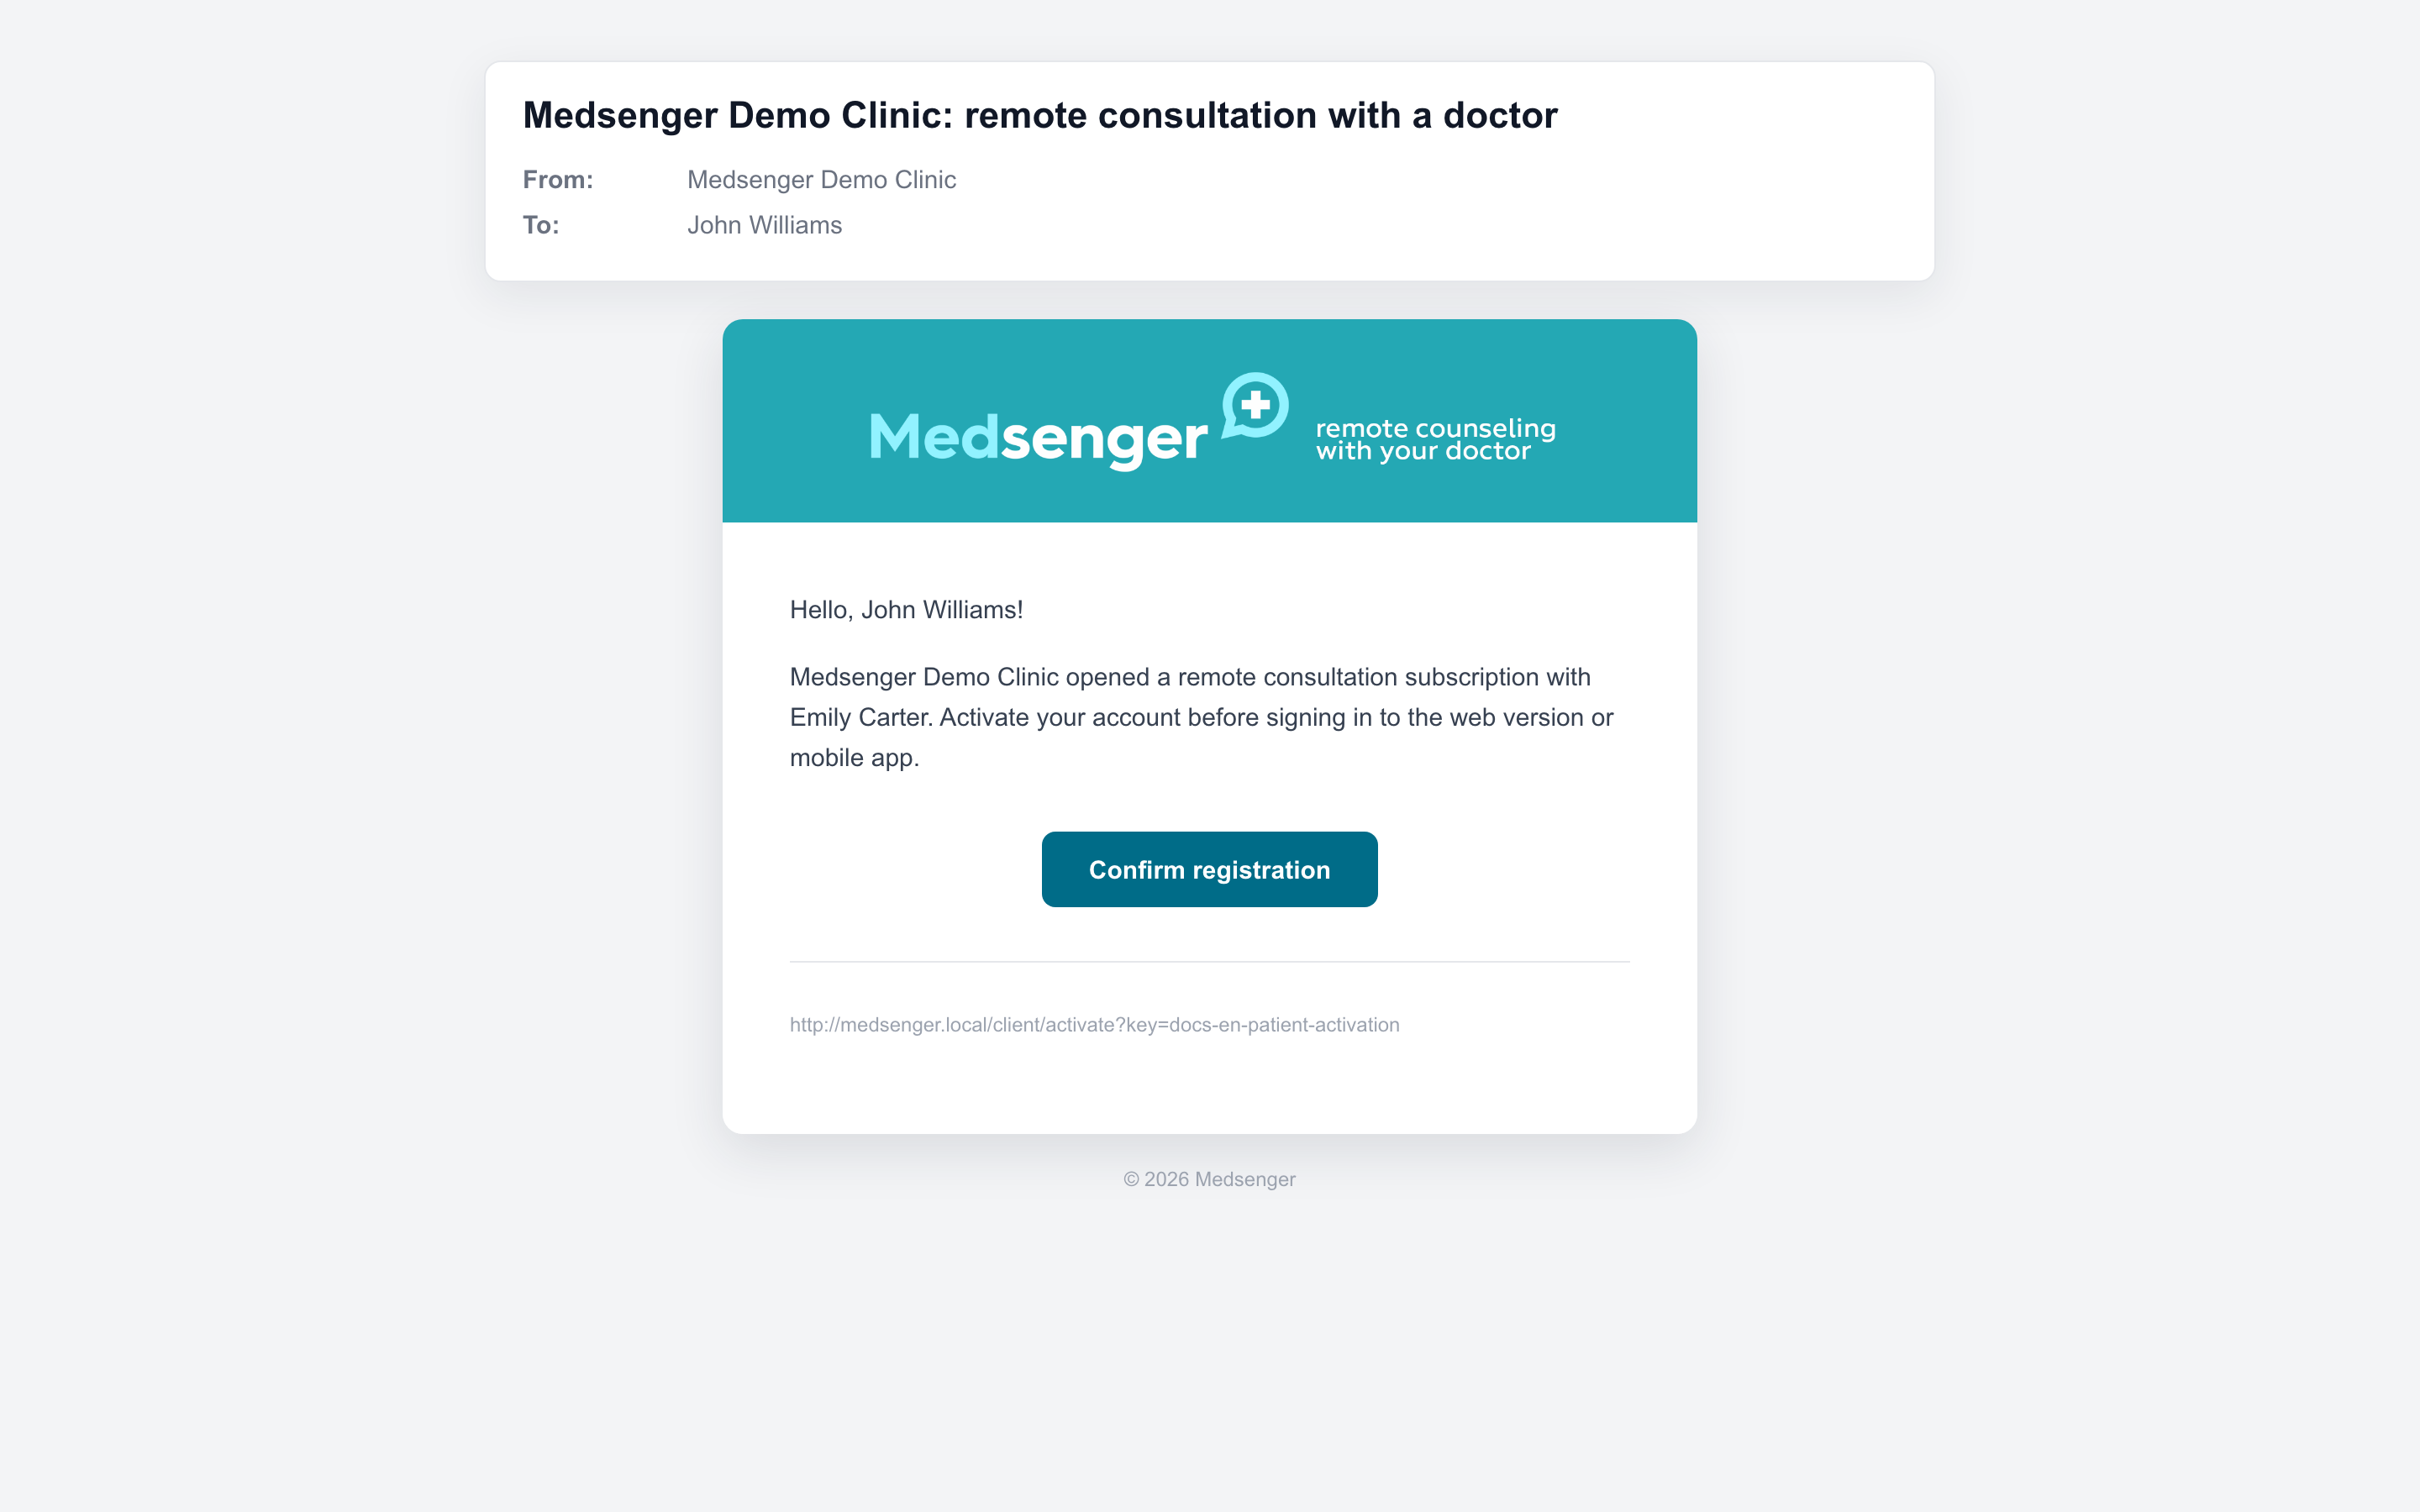
If the patient is new, they receive an activation email.
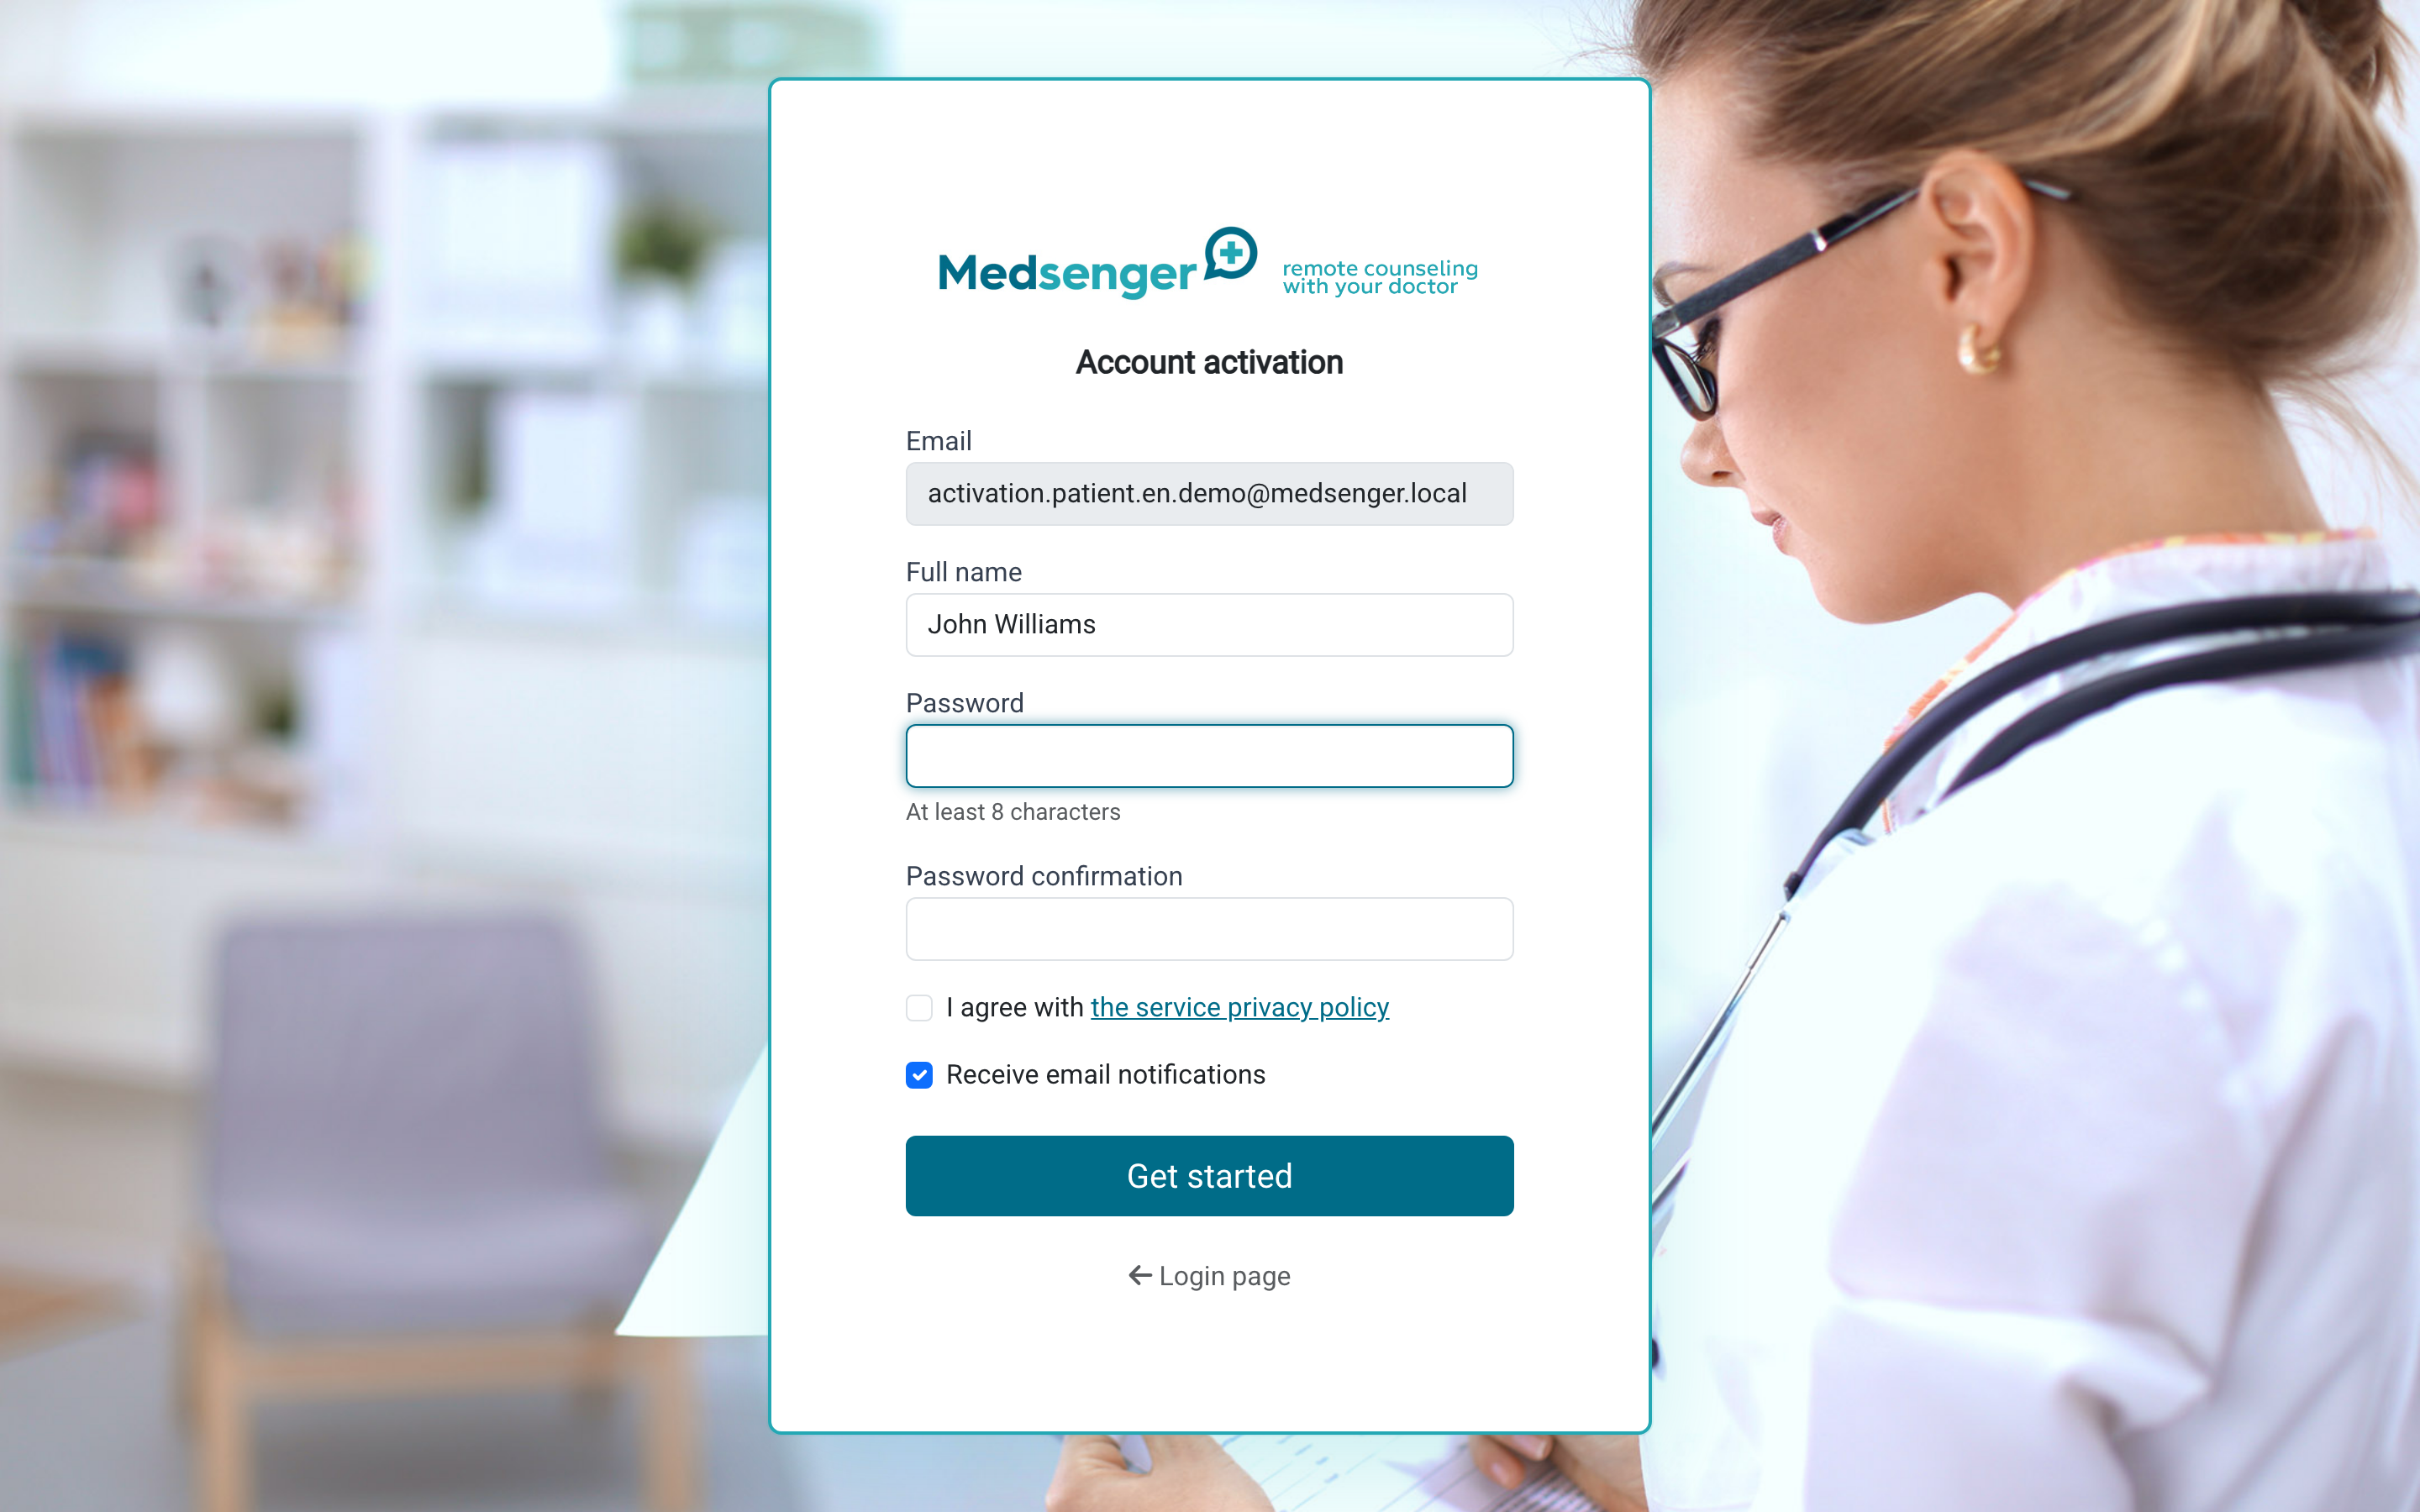
After following the link, the patient sets a password and accepts required consents. Only after activation can they log in to Medsenger.
Common issues
| Symptom | What to check |
|---|---|
| Doctor is not shown | Online booking, doctor status, photo, description, linked service |
| Service is not shown | Online availability, archive, doctor list, price and period |
| Email code does not arrive | Email, Spam, email notifications |
| Document does not upload | Size, format, internet, mobile browser |
| Payment succeeded but consultation was not created | Payment status, request status, service confirmation mode |
| Patient does not see consultation | Patient email, account activation, start date and contract status |