How requests work
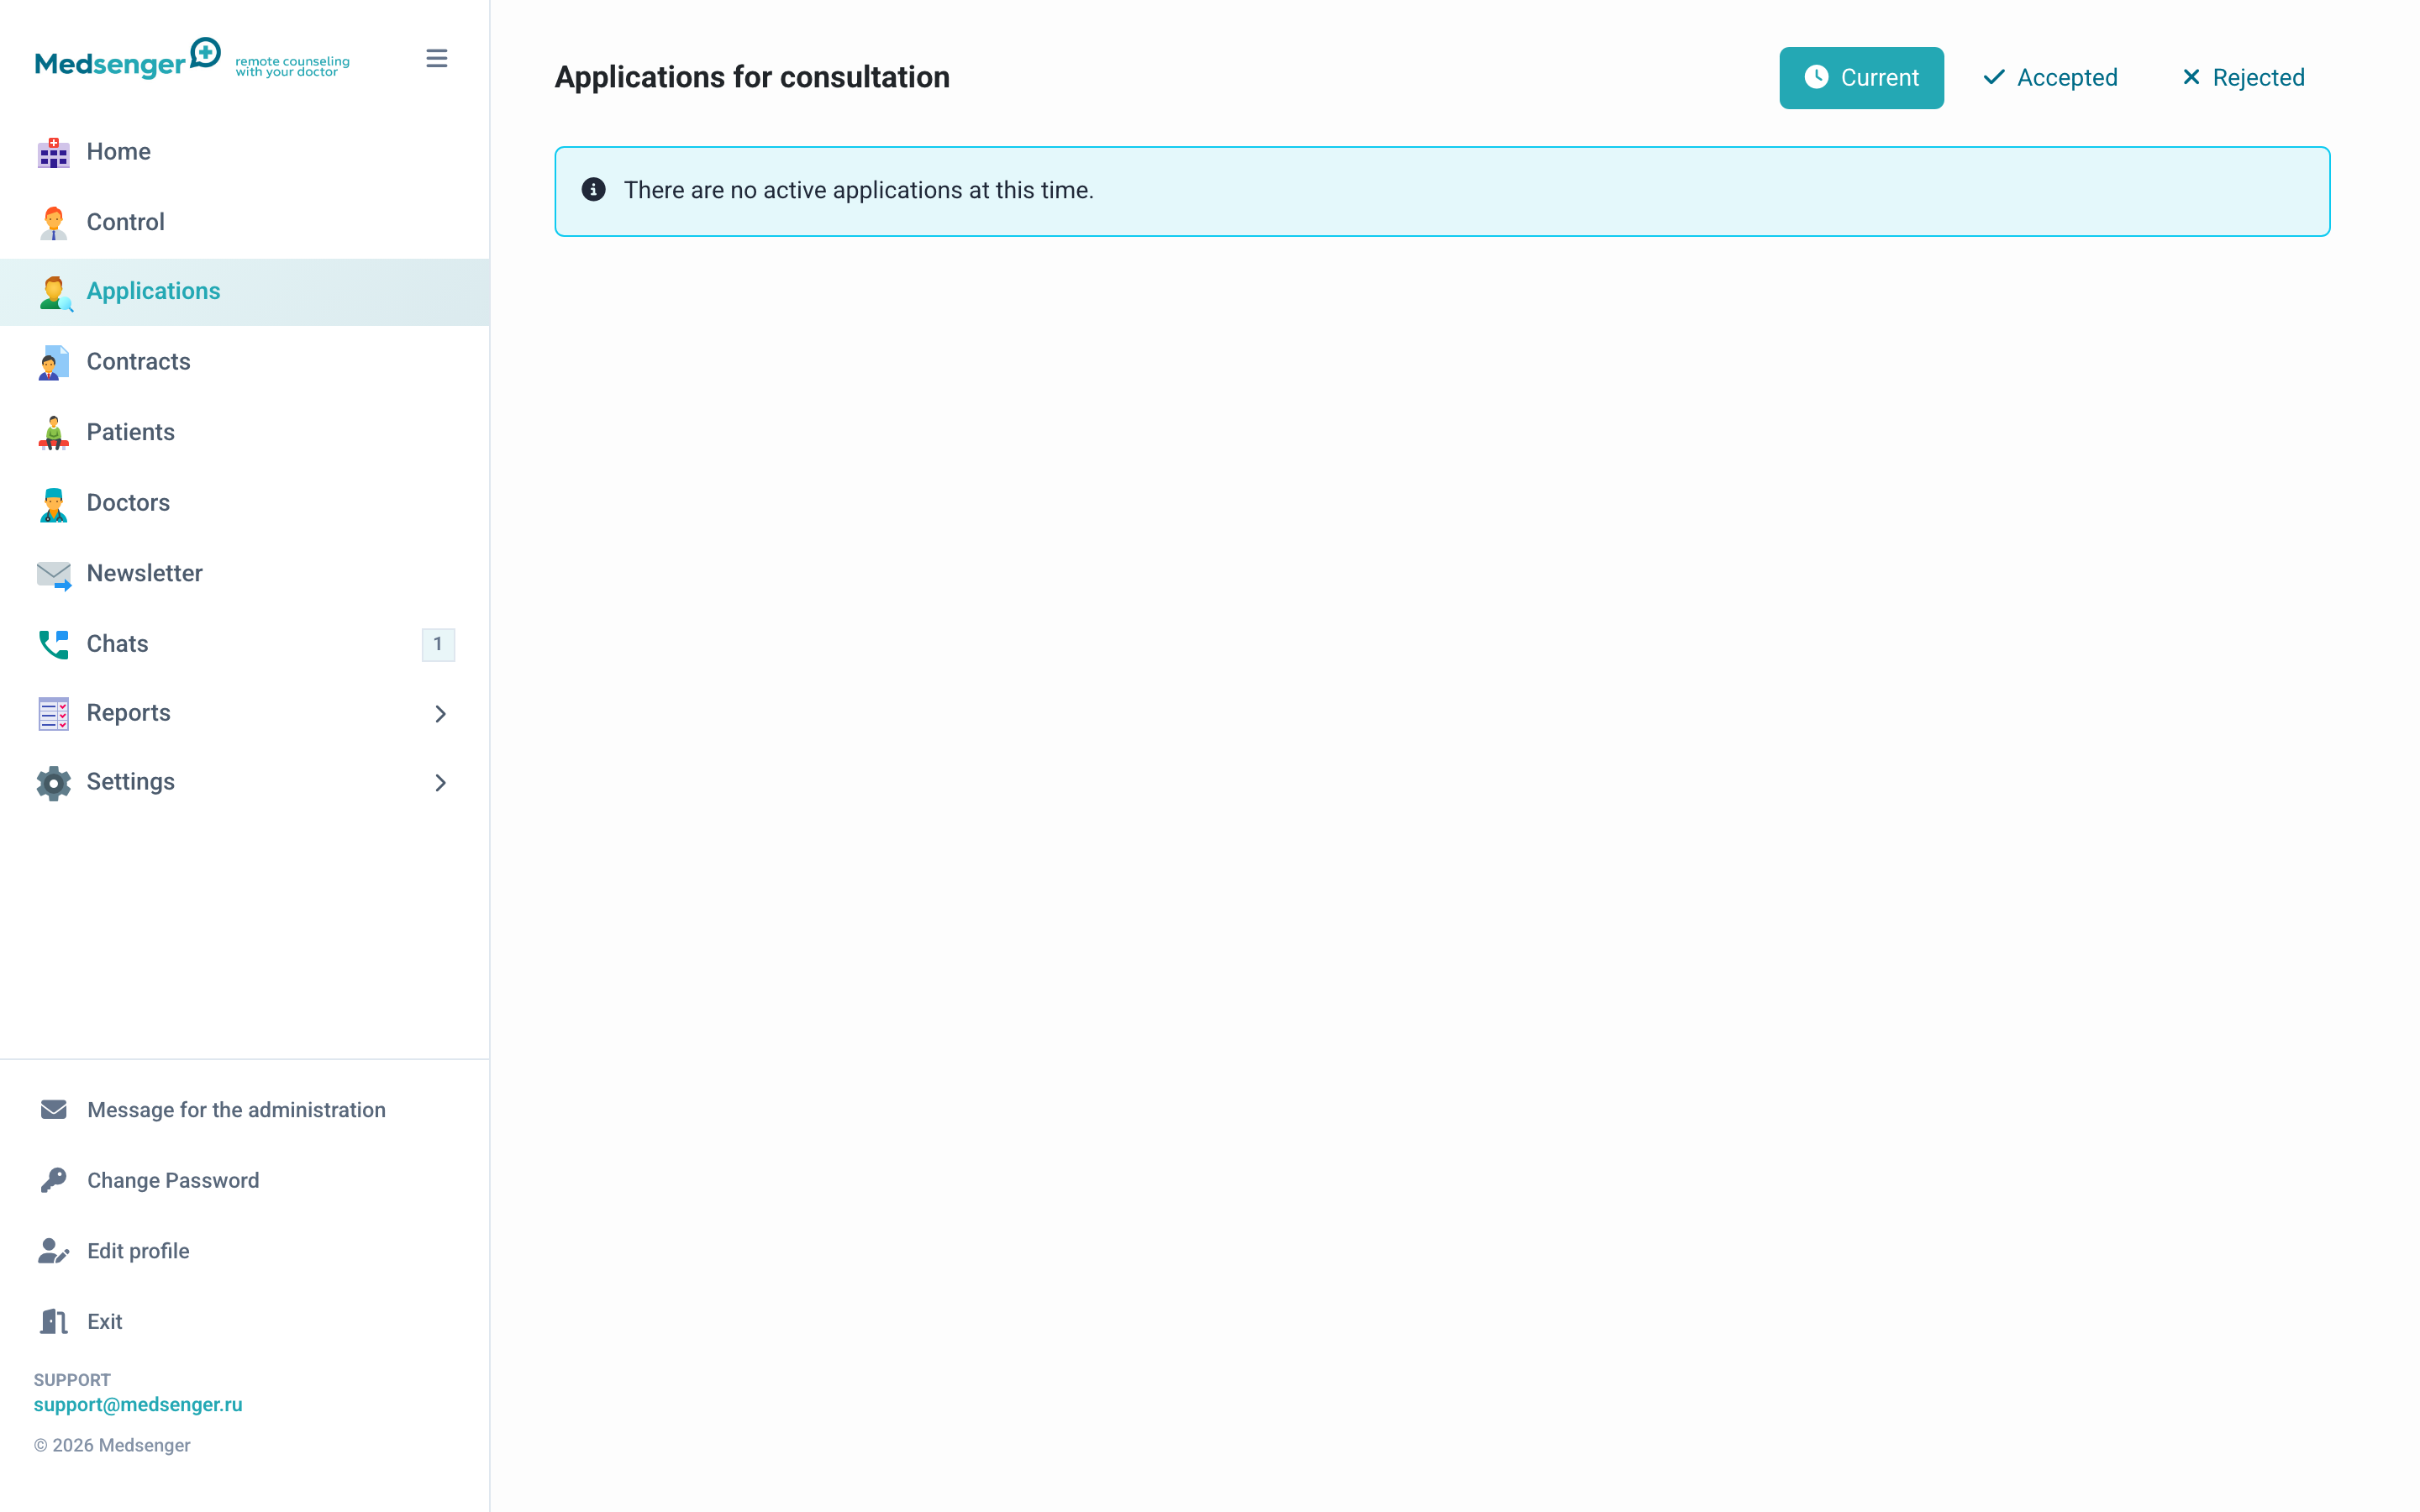
Medsenger lets clinics receive consultation requests online: through a direct link or a widget on the clinic website. The patient fills in a form, attaches documents, and then the request is processed manually or the consultation opens automatically.
How the patient books
The patient opens the booking form and chooses one of two options.
Booking with a specific doctor
The patient sees doctors with online booking enabled, including photo, specialty, and description. They choose the doctor and specify the desired consultation period.
To show a doctor in the form, go to Doctors, open doctor settings, and enable Allow booking for remote consultation via internet.
Booking a service
If services are configured in the clinic, the patient first chooses a service, then a doctor linked to this service. Consultation period, response rule, type, and monitoring scenario are filled from service settings.
Setup order
1. Configure doctors or services
- For doctor booking: enable online booking in each doctor's settings.
- For service booking: create services in Services and link doctors to them.
2. Configure document list
Go to Settings -> Consultation requests and add documents that must be received from the patient. Details: Document templates.
3. Enable request intake
In the same section, click Enable. After that, the following appear:
- Booking form link: send to patients or place on the website
- HTML widget: to embed the form on the clinic website
- Requests section in the cabinet menu
Processing modes
Requests can be processed manually or automatically.
With manual confirmation, the administrator checks data, documents, and payment, then confirms the request. With automatic opening, the consultation is created without manual processing if service conditions are met.
If payment is connected, the patient pays for the request before opening the consultation or before confirmation according to clinic rules.
More details: request processing and payment.
Checklist before publishing the form
Before placing the link or widget on the clinic website, check:
- only the needed doctors and services are visible in the form;
- doctors have photos, specialties, and descriptions;
- prices are correct if payments are connected;
- document list is clear to the patient;
- a test form submission creates a request;
- administrators receive a new request notification;
- automatic opening creates a consultation with the correct rule, type, and scenario;
- the patient receives an activation email or further instruction.
Where to use the form link
The link can be placed:
- on the clinic website;
- in the clinic patient account;
- in a mailing message;
- on social networks;
- in an email to the patient after first contact.
If the form is embedded as an HTML widget, check it on a mobile device after updating the website.
Full patient-side checking is described on Patient flow in a request.
Common issues
- Doctor is not shown in the form: check online booking in doctor settings.
- Service is not shown: check that it is available online and not archived.
- Patient cannot pay: check payment system connection and service price.
- Consultation is created without a scenario: check scenario in service or doctor settings.